I saw this awesome idea on Pinterest to put cheap dollar store ornaments into a shadow box and ta-da you have yourself some pretty neat wall art.
I went to Dollar General that very day and purchased some multi-colored--but mostly pink and purple--small ornaments, since they were to be used as a wall decoration in my daughter's room.
When I got home I discovered that I had grossly overestimated the depth of my shadow box and the ornaments were too large, even though I purchased the smallest round ones available. This is my fault and why I have labeled this post as "on the fence." If I am able to find an alternative shadow box I will definitely try this again.
For now, I stuck the ornaments in a glass boot and some mason jars with little battery operated candles, which is cute enough for now, it adds a nice splash of color to the counter and when the lights are off in the kitchen the candles create a nice warm glow.

I will try the shadow box idea if I can get my hands on one with more depth and for a reasonable price!
If you have tried this idea, please share your results with me! I would love to hear your story!
Friday, November 30, 2012
South Dakota Meat Loaf - PROVEN
This is yet another pin that I created on Pinterest found in my Taste of Home cookbook that we received as a wedding present.
Meat Loaf has always been a favorite of my husband's so I wanted to make him one that we could both enjoy since I wasn't too fond of it to begin with. My mom didn't make it all that often, I don't think either one of my parent's were huge fans.
I found this South Dakota Meat Loaf recipe and decided to give it a go. This was about 5 years ago!!
Meat Loaf is sort of a love or hate food and I thought I hated it. Not anymore! This is a staple in our house and on our menu at least once a month.
The first time I made it I followed the directions exactly, now I use a little more Worcestershire sauce, a green pepper (if I have one) and basically more than double the recipe. I usually make about a 3.5-4 lb meat loaf!!
Usually, I like to take after photos of my cooked meals, but we are usually so anxious to dig in I am having a hard time finding any!! Enjoy :)

I don't know what about this recipe makes it "South Dakota-like" but I'll take it!
Meat Loaf has always been a favorite of my husband's so I wanted to make him one that we could both enjoy since I wasn't too fond of it to begin with. My mom didn't make it all that often, I don't think either one of my parent's were huge fans.
I found this South Dakota Meat Loaf recipe and decided to give it a go. This was about 5 years ago!!
Meat Loaf is sort of a love or hate food and I thought I hated it. Not anymore! This is a staple in our house and on our menu at least once a month.
The first time I made it I followed the directions exactly, now I use a little more Worcestershire sauce, a green pepper (if I have one) and basically more than double the recipe. I usually make about a 3.5-4 lb meat loaf!!
Usually, I like to take after photos of my cooked meals, but we are usually so anxious to dig in I am having a hard time finding any!! Enjoy :)

I don't know what about this recipe makes it "South Dakota-like" but I'll take it!
Wednesday, November 21, 2012
Make Real Lashes Look Fake - PROVEN
I've never really had a problem making my eyelashes appear long and lush, I was blessed with nice lashes at birth...thanks Mama!!!
Also, I have actually tried to apply fake lashes before and not one person even noticed that I was wearing them.
Although it's not really needed for me, what girl doesn't want fuller looking lashes? I saw this pin about making your natural lashes appear to be false.
I watched the video one day and decided that I would make this trick a part of my morning routine. I have documented the results below with photos, see for yourself, this really does work!
I really love my results, and I have been using this method to apply my eye makeup since I saw the pin and watched the video!
Hopefully you have good luck with it! Please share your results!
Also, I want to let you know that I do not buy any eye makeup remover, I use baby oil. It works wonderfully with a cotton ball. I swear that's all that is packaged in the eye makeup remover at the store, anyway!
Also, I have actually tried to apply fake lashes before and not one person even noticed that I was wearing them.
Although it's not really needed for me, what girl doesn't want fuller looking lashes? I saw this pin about making your natural lashes appear to be false.
I watched the video one day and decided that I would make this trick a part of my morning routine. I have documented the results below with photos, see for yourself, this really does work!
![]() |
| Before |
![]() |
| Cheap-o Eyeliner I Use ;) |
![]() | ||||
After Applying Eyeliner
|
![]() |
| After Curling |
![]() |
| The 2 Mascaras I Used |
![]() |
| After 1st Mascara Application |
![]() |
| After 2nd Mascara Application |
I really love my results, and I have been using this method to apply my eye makeup since I saw the pin and watched the video!
Hopefully you have good luck with it! Please share your results!
Also, I want to let you know that I do not buy any eye makeup remover, I use baby oil. It works wonderfully with a cotton ball. I swear that's all that is packaged in the eye makeup remover at the store, anyway!
Tuesday, November 20, 2012
Tomato Cage Christmas Decoration - PROVEN
I am pretty sure most of my friends have used this little trick already, but I thought I would share my experience.
When I saw this pin on a cool homemade Christmas decoration, I just had to try it!
I was able to borrow some tomato cages from my awesome cousins Shanna and Kevin ;)
I thought I would need an extension cord, but the outlet I was going to use doesn't have a 3-prong socket so I was able to improvise.
When I saw this pin on a cool homemade Christmas decoration, I just had to try it!
I was able to borrow some tomato cages from my awesome cousins Shanna and Kevin ;)
I thought I would need an extension cord, but the outlet I was going to use doesn't have a 3-prong socket so I was able to improvise.
Make sure you CHECK YOUR LIGHTS before you go through the entire process of wrapping them around the tomato cage. I had tested mine about 5 days prior to this and figured I was safe. I was wrong. I waited until it was dark out and flipped the switch inside and nothing happened. I checked everything and all the plugs were in order, it was the lights. Something must have happened to them in the 5 days since I had checked them last. Bummer!
Because of my mishap I had to wait until I had some more free time to re-wrap the lights and was just now able to complete my project 3 days later.
My front porch has a light and last year I purchased a Light Socket Adapter so I had a good place to plug in Christmas lights. Since I couldn't use an extension cord with the adapter I purchased I was able to prop up my "tree" on the grill ledge! Love to improvise!
I am very pleased with the results and I would greatly recommend this project for you. Really, all you need is a tomato cage and a a string of lights. I guess you could doll it up a little with some tinsel, a star or some other decorations but I didn't want to risk losing anything in the blizzard-like Michigan winter.
Happy Holidays!!!
Friday, November 16, 2012
Homemade Baby Food - PROVEN
Every Spring, my husband and I plant a couple of massive gardens. We grow everything from hot peppers to pumpkins.
This year, we had a baby to consider when planting the garden so we decided to plant a few extra summer squash and zuchinni plants.
Fortunatley for us, Madison was loving squash baby food right at the time it was coming ripe in the garden.
![]() |
| Summer Squash |
![]() |
| Squash, cut into chunks, skins on, boil until tender (only leave on skins for ages 6 months +, smaller babies have a hard time digesting the skins. |
I made several batches of this food, I used summer squash and zuchinni mixed or just summer squash alone with no added flavorings and it was a huge hit in the Denig house!
![]() |
| Pureed in Food Processor |
![]() |
| I saved all of her purchased baby food containers for easy storage |
![]() |
| All done! Ready to eat! |
Explosive Shower Head Cleaner - PROVEN
Finally!!! I used baking soda as a cleaner and I wasn't disappointed.
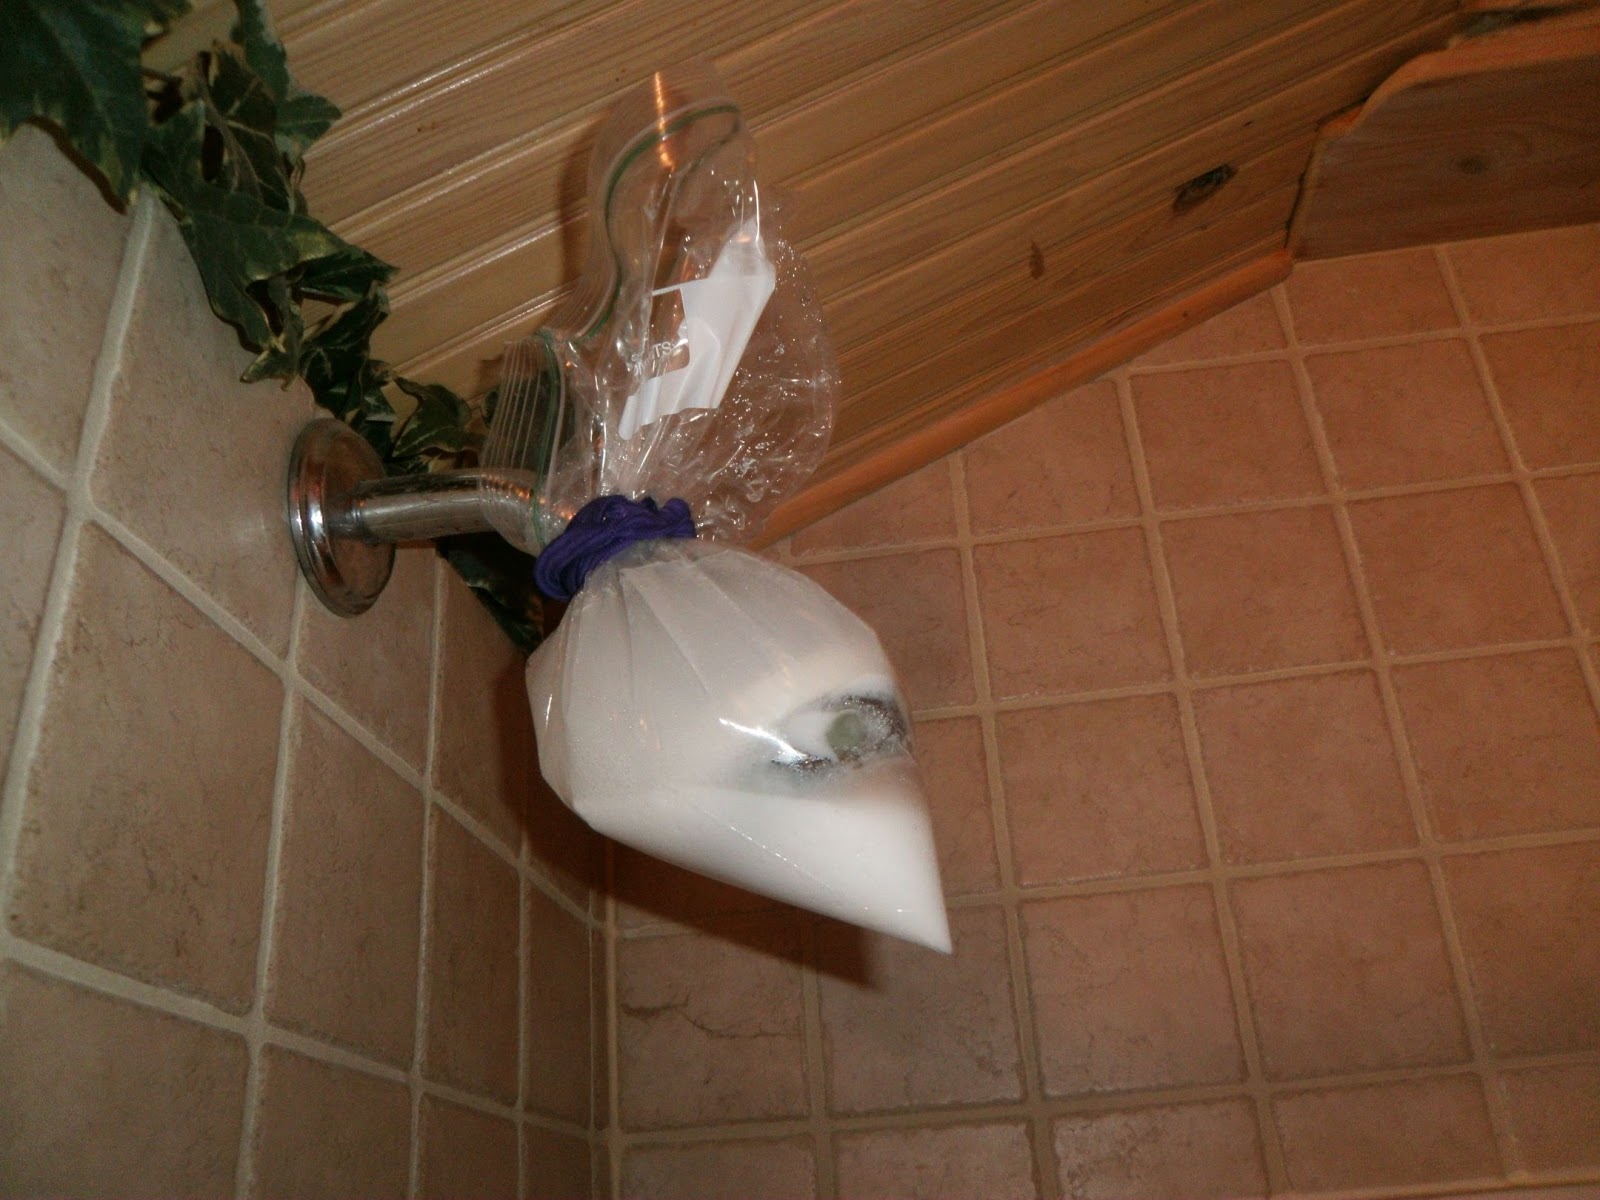
Once again, we have a water softener on the brink of a break down and well water that is really rusty, so we get a lot of rust build up. Scrubbing the tub, sinks and toilets is a constant pain but I wanted to test this idea out I found on Pinterest to remove water residue and build up called the Explosive Shower Head Cleaner.
I wasn't expecting much, since I haven't had great luck with the cleaning pins, but I wanted to test it anyway.
I noticed that the water build up and residue was greatly diminished, if not gone completely in most places on the shower head. Also, it actually removed some of the rust, which I wasn't expecting (I'll have to scrub with some CLR or "The Works" to finish the job) but that's fine with me.
After using this product the shower seems to have more water pressure since there is no more build up around the spouts!
Overall, I am very pleased with these results!
Once again, we have a water softener on the brink of a break down and well water that is really rusty, so we get a lot of rust build up. Scrubbing the tub, sinks and toilets is a constant pain but I wanted to test this idea out I found on Pinterest to remove water residue and build up called the Explosive Shower Head Cleaner.
I wasn't expecting much, since I haven't had great luck with the cleaning pins, but I wanted to test it anyway.
![]() |
| Before |
![]() |
| Vinegar and Baking Soda Mix (Explosive Mix) |
| Let soak overnight (I didn't have a twist tie so I used a large hair tie!) |
I noticed that the water build up and residue was greatly diminished, if not gone completely in most places on the shower head. Also, it actually removed some of the rust, which I wasn't expecting (I'll have to scrub with some CLR or "The Works" to finish the job) but that's fine with me.
After using this product the shower seems to have more water pressure since there is no more build up around the spouts!
Overall, I am very pleased with these results!
Thursday, November 15, 2012
Treating a Pimple with Toothpaste - BUSTED
Risking embarassment and showing pictures of a pimple I would usually cover up completely. I'm here to give the facts people and sometimes that comes at my own expense!
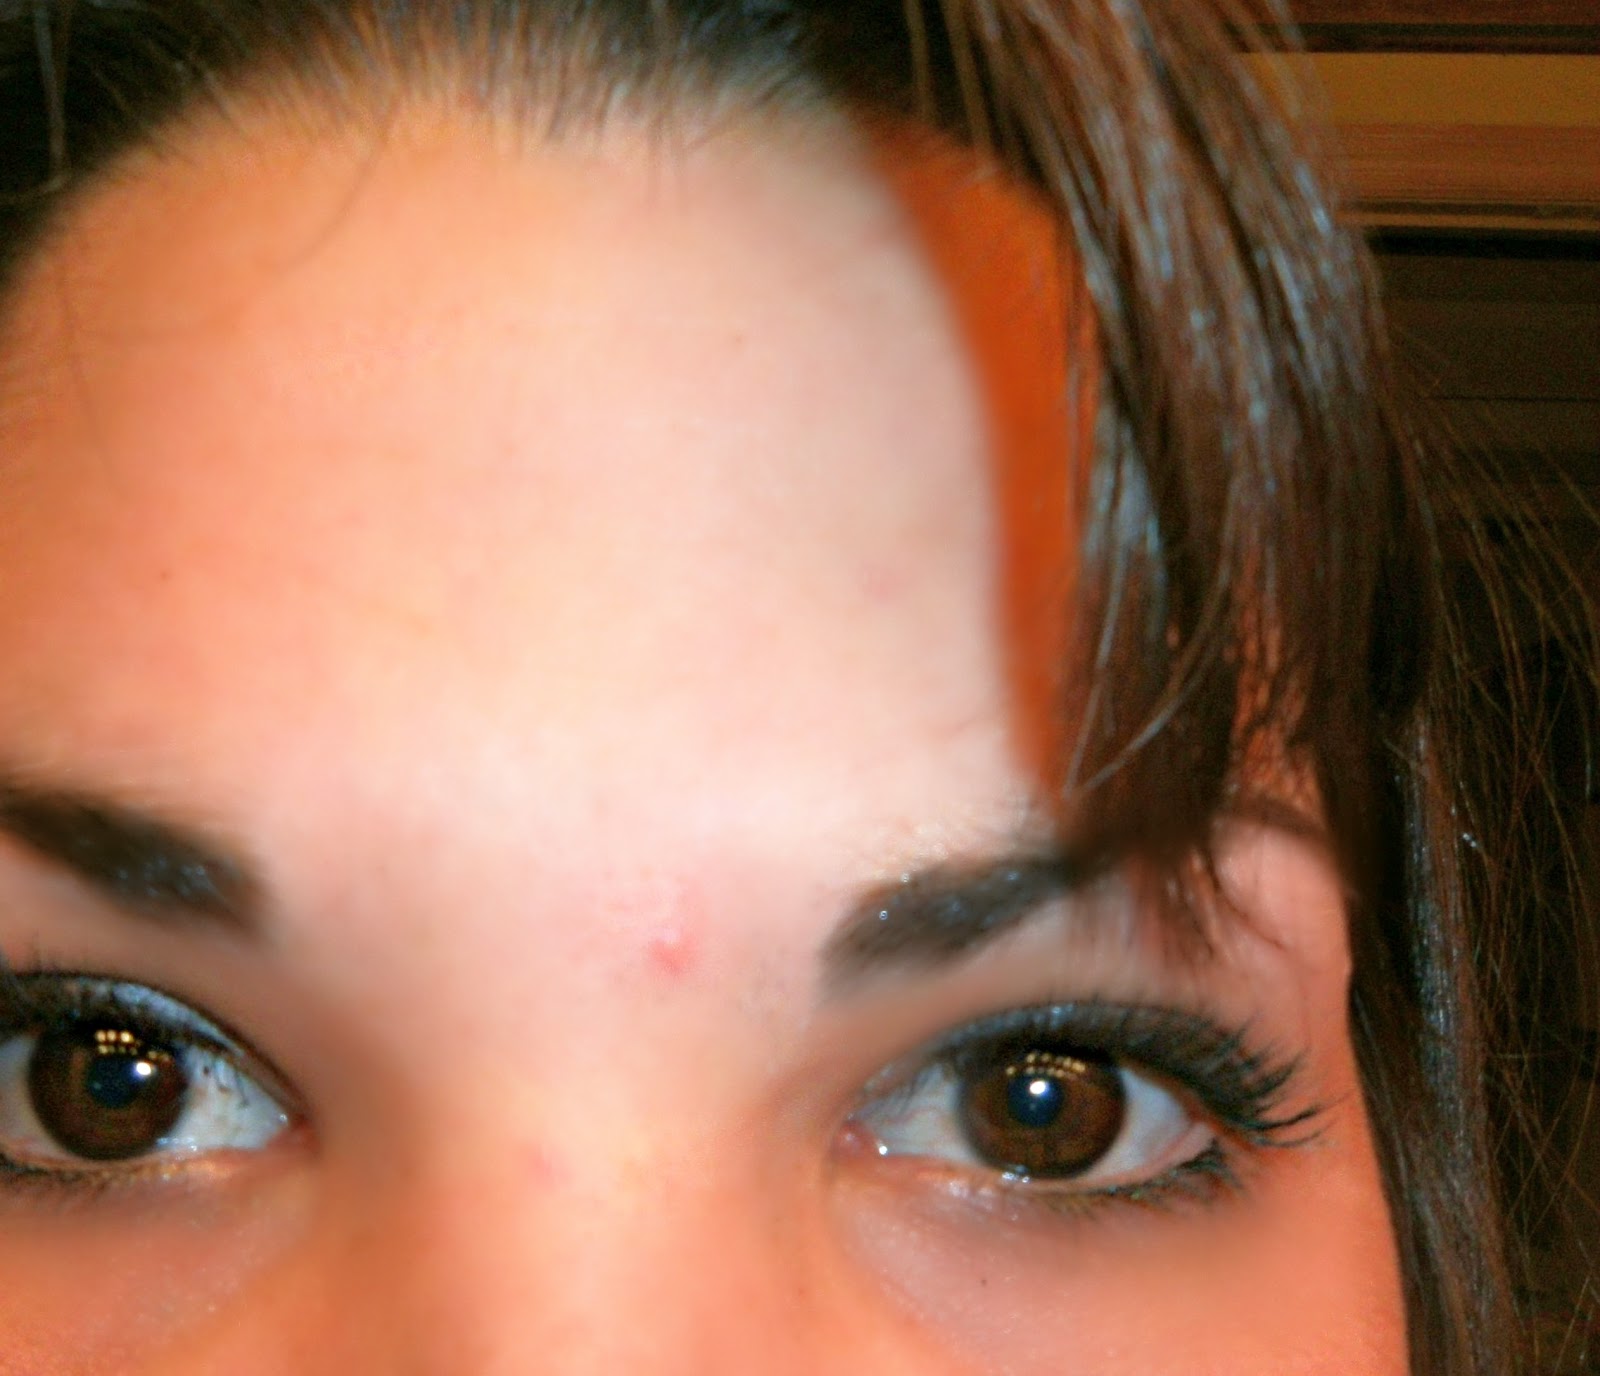
I read on Pinterest (and elsewhere) that putting toothpaste, not gel, on a pimple overnight will greatly reduce it's size and appearance if not remove the pimple completly. I put this theory to the test last night.
Below are my before, during and after pictures, don't laugh....
I left the paste on all night and in the morning, I swear it was more red. This after pic is after applying foundation but no concealer. Looks like I should just use my toothpaste for my teeth! Better luck next time, Pinterest!
I read on Pinterest (and elsewhere) that putting toothpaste, not gel, on a pimple overnight will greatly reduce it's size and appearance if not remove the pimple completly. I put this theory to the test last night.
Below are my before, during and after pictures, don't laugh....
| Before applying Toothpaste |
| I used Colgate |
| Redy for bed! |
| Bummer, not much difference at all! |
Labels:
Busted,
DIY,
Pimple Treatment,
Toothpaste
Subscribe to:
Posts (Atom)